
Posts from the ‘Project’ Category
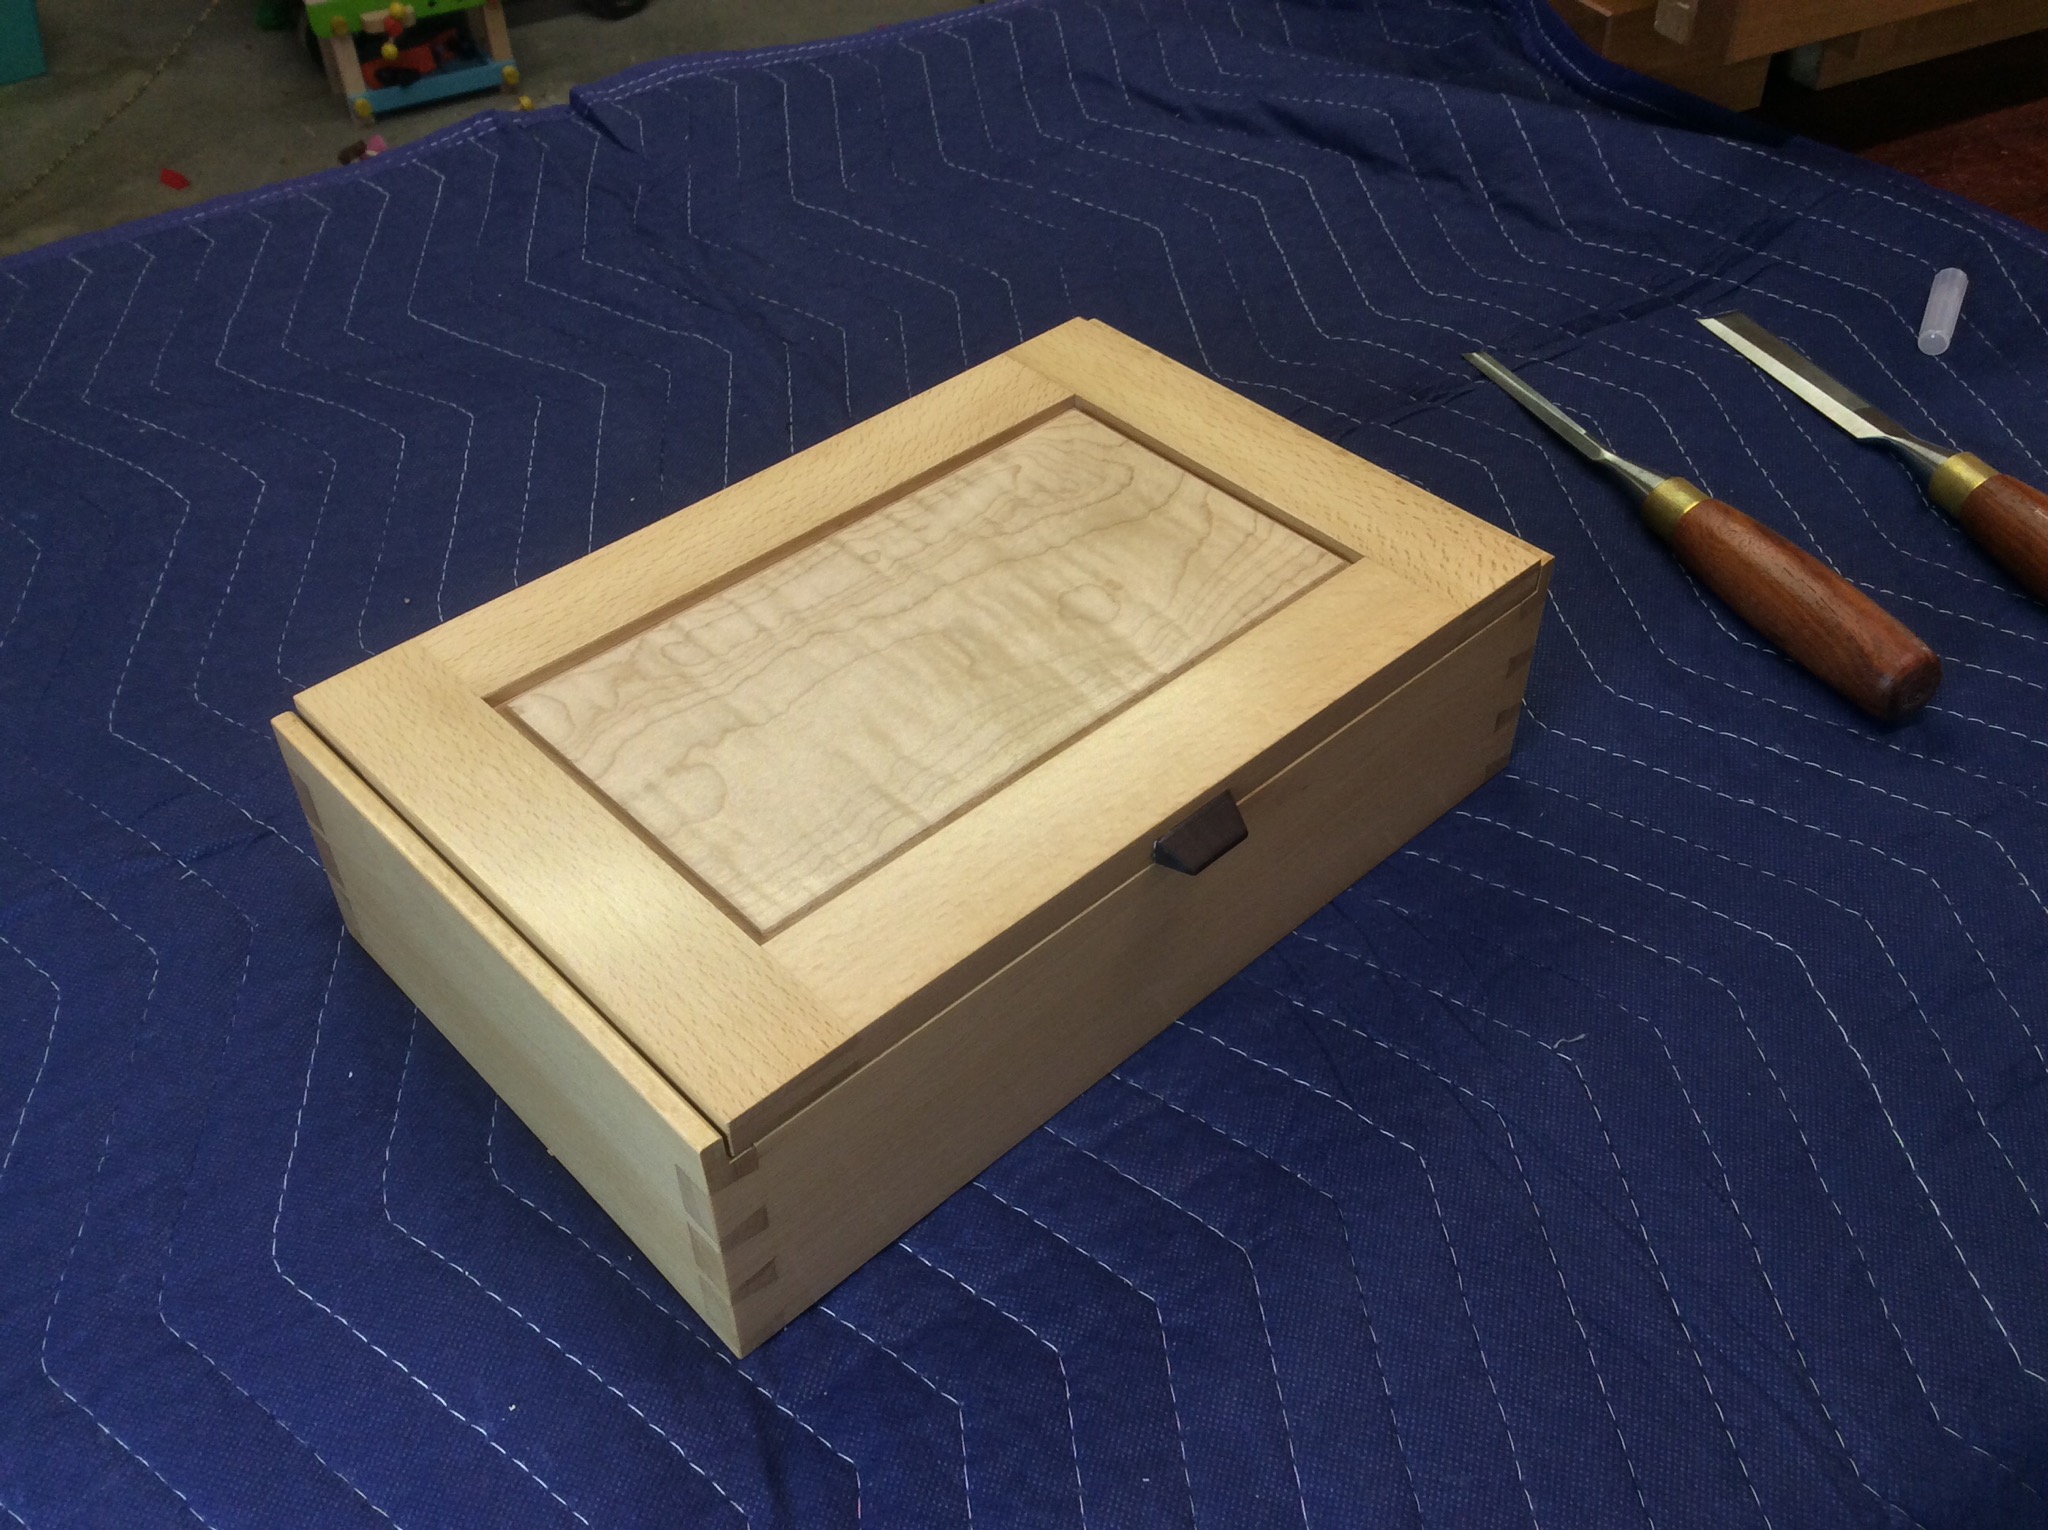
Just wrapping up this small box before a show next weekend. Amazing how the time it takes to finish a project is inversely proportional to it’s size.


Just a little carving project for fun!
A couple of years ago I was introduced to trap shooting by some guys at work and quickly fell down the rabbit hole. I bought a nice used Remington 1100. Nothing fancy, but a good gun from a good American manufacturer that made a blue million of them. I’ve never cared to date the gun, but if I had to guess I would say late 70’s to 80’s. The one thing that always bothered me about this gun was the finish on the solid walnut stock and forehand. I’m not exactly sure if the factory was some sort of lacquer or more likely a type of conversion varnish, but it was incredibly too glossy for my tastes and terribly orange peeled as well. I decided I was going to try and attempt to strip and refinish them with an oil finish closer to some of the older guns and high end replacement stocks.
I did not really feel like messing with caustic chemical strippers although I figured that they would work the fastest. After a quick Google search, a product called Citristrip seemed it had a reasonable consensus. I did not get any pictures of the stripping process, but essentially I just lathered the Citristrip on with a cheap paint brush and let it do its thing. It did take a long time to soften the finish, nearly 8 hours. I attribute this more to the thickness and hardness of the factory finish than the fact that the Citristrip is a “green” product. After a little careful scraping and scrubbing, I had all the original finish removed. I then cleaned everything thoroughly with mineral spirits taking special care to get into the checkering with an old tooth brush. Then I let everything sit and dry out for a couple days.
The stock originally had a plastic butt plate that was a little deteriorated and I ended up breaking anyway when I tried to remove it….oops. I laminated a couple scraps of tiger maple and rosewood, roughed the shape out and glued it to the stock. Then it was just a matter of rasps, files, and sandpaper to get the profile to match.

Then I sanded everything to 400 grit and applied a couple coats of Tried and True varnish oil. The result was just what I was hoping for. I think I’ll apply 1 or 2 more coats of oil just to satisfy my OCD tendencies.


I’ve been steadily working on this flag case and accompanying medal case for the last couple of months after volunteering with an organization called Freedom Flag Cases which consists of volunteer craftsmen that try to give back to our fallen heroes by providing a hand crafted flag case to display and honor their burial flag. This project was a special treat for me and really hits home as you get to know the family through email conversations.
I made the case from quarter sawn cherry and finished the interior with navy satin which I thought looked really great together. I also wanted to thank Cookeville Glass and Mirror in Cookeville, Tn for providing all the glass work free of charge.
Thank you to all of our military men, women, and families.

Well, as usual my documentation skill have been lacking. I finished the bourbon cabinet up in early November. Actually, I did the final assembly the morning of the show I was preparing for. Several folks commented on how they liked the smell. I didn’t have the heart to tell them that what they were smelling was residual oil smell from the finish still completely curing. I still need to get some professional photography done, but I thought I share some shop shots of the finished product. I’m pretty happy how this one turned out.


Well as usual I’ve done a pretty poor job of documenting progress, but most of the work so far has been pretty repetitious slicing veneers, cleaning up veneers, gluing to substrates, and cleaning up edges. Here are the three main panels of the carcass getting some pre-finishing before assembly to the legs.
 These panels are gorgeous, which really gets me excited about the rest of the project. It also reminds me not to screw anything up!
I also started work on a couple of JK Table in cherry. Here they are roughed out with joinery fit, but at this point they bases are finished shaped and glued up waiting for tops.

Right now I feel the clock ticking as I have a show on Nov. 8 & 9 that I am wanting to get both of these pieces completed for. Until next time.

Veneering panels with the Thin Air Press. This was the first time using the system, and I’m very pleased with it over all. The only fussy part is unsealing the bag and keeping all the sticky sealing stuff on one side of the bag so it can be re-used. For the amount of veneer work I do, I think it will last me a very long time.
After the sale of my other insanely expensive hobby, a 1967 Chevelle set up for 1/8 mile drag racing, we decided that we wanted to use the cash to start finishing out our basement to add a guest bedroom and a bonus/play room for our expanding family. My shop currently occupies a large portion of what we are going to finish so the plan was to move the machinery to the single bay of the garage vacated by the chevelle. Here’s a befor shot during the pre-move chaos.

Part of the space will be retained as my bench room, so the first step was to bust a hole in the wall and frame up for a double door opening connecting the two spaces.

Then, like all projects, it inevitably bread more projects. First, I decided that the hodge podge of a dust collection system I had previously was not worth moving and I wanted to re-plumb the whole system in 6″ sewer and drain pipe. During this process it became painfully obvious that my old 1.5 HP bag type dust collector was not going to be able to make the length of runs I had planned. So, while not in the budget, I went ahead and purchased a new Penn State 2.5 HP cyclone unit and installed that as well. I also added a bank of base cabinets for some much needed storage and did some minor wiring for all the 220V equipment. Here are some shots of the finished space. A little messy with another couple projects already in process.


Here’s a shot of what will eventually become the adjacent bench room after a separating wall is constructed just to the right of the window to the right of the bench. 
After I was fairly satisfied with my drawing and templates, I started making the bending forms for the legs/stretchers and the arm rests that will be created with bent lamination. Using my templates, I rough cut the forms in MDF and used a flush trim bit to make them match the template perfectly. I was out of packing tape, so I used a little Alabama chrome to protect the surface from glue.

I selected a nice plank of cherry from my stock and began to layout my components for the best grain graphics. Again, the templates are very helpful here.

Next I sliced thin 1/8th inch veneers for the legs/stretchers. 12 layers will get me 1 1/2″ thick. I marked the stock with a triangle before re-sawing to keep the grain oriented.

I used Old Brown Glue hide glue to glue up the lamination. The extended open time really helps with these glue ups and I find that the dried glue is not as hard on planer/joiner knives.

I have been delinquent in posting pictures of the finished walnut trestle table. I never really got any suitable photography done and now it has taken up its daily duty in our kitchen. It’s been about a year since I finished it, and it has a few battle scars, but it still looks great and has even more character.


