
Posts from the ‘Shop’ Category
Been pretty quiet around here lately, at least in terms of furniture production. We’ve undertaken a project to finish out our basement space to act as sort of a relief valve for all the kid stuff. As a bonus though, I’m carving out one room as a dedicated “bench room” which is also conveniently located next to the “machine room” in the garage. We had a separate a/c unit installed then I spent several months working on framing and minor plumbing. After that we were ready for electrical, insulation, and drywall which I all hired out to make sure there was a shot at this all being completed before the 3 year old goes to college. The last couple weeks have been focused on trim carpentry which I rather enjoy. Next I’ll start tackling some cabinetry which will be something more closely resembling furniture.

The bench room after drywall.

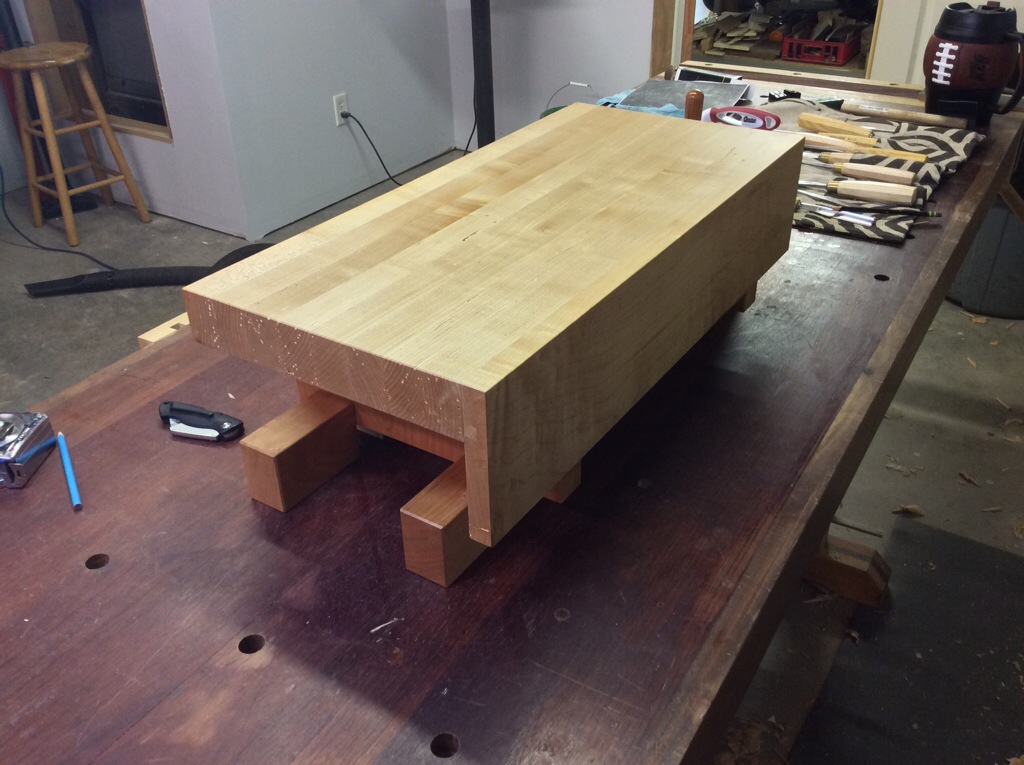
Made this little bench top bench to raise my carving work. Eventually I’ll get a couple veneer press screws to add a twin screw vise for dovetailing also. The feet on the bottom can be flipped to raise or lower the height by a couple inches.

Well, as usual my documentation skill have been lacking. I finished the bourbon cabinet up in early November. Actually, I did the final assembly the morning of the show I was preparing for. Several folks commented on how they liked the smell. I didn’t have the heart to tell them that what they were smelling was residual oil smell from the finish still completely curing. I still need to get some professional photography done, but I thought I share some shop shots of the finished product. I’m pretty happy how this one turned out.


After the sale of my other insanely expensive hobby, a 1967 Chevelle set up for 1/8 mile drag racing, we decided that we wanted to use the cash to start finishing out our basement to add a guest bedroom and a bonus/play room for our expanding family. My shop currently occupies a large portion of what we are going to finish so the plan was to move the machinery to the single bay of the garage vacated by the chevelle. Here’s a befor shot during the pre-move chaos.

Part of the space will be retained as my bench room, so the first step was to bust a hole in the wall and frame up for a double door opening connecting the two spaces.

Then, like all projects, it inevitably bread more projects. First, I decided that the hodge podge of a dust collection system I had previously was not worth moving and I wanted to re-plumb the whole system in 6″ sewer and drain pipe. During this process it became painfully obvious that my old 1.5 HP bag type dust collector was not going to be able to make the length of runs I had planned. So, while not in the budget, I went ahead and purchased a new Penn State 2.5 HP cyclone unit and installed that as well. I also added a bank of base cabinets for some much needed storage and did some minor wiring for all the 220V equipment. Here are some shots of the finished space. A little messy with another couple projects already in process.


Here’s a shot of what will eventually become the adjacent bench room after a separating wall is constructed just to the right of the window to the right of the bench. 
For a while now I’ve been more than a little unhappy with my current shop layout and dust collection setup, but have failed to do much about it since I’ve had some projects that had to get done. My current setup had a run feeding the jointer and table saw, but was done completely out of corrugated flex pipe, so I wanted to replace this with more solid pipe and move my planer near my jointer. This would also solve another problem I have with sharing a pipe between my planer and chop saw. I was always having to switch back and forth between the two and both machines were located behind the table saw which created some space constraints with longer stock or sheet goods. In anticipation of getting a new band saw, I decided it was time to make a change to improve the layout, make some room for the new saw, and hopefully increase the overall efficiency a bit.
It seems like arranging your shop can be one of the most difficult exercises since there are so many constraints on your layout decision. For me, I want my machine area to be compact enough so that I’m not having to move excessively between operations, but still maintain some space to handle longer stock or sheet goods. Another consideration is my dust collector. Right now I have a basic 1.5 HP bag style collector. This machine does a pretty decent job, but I definitely need to limit the length of my runs to maintain maximum efficiency.
I started by replacing my first run to the jointer/planer and a “Y” to the table saw using 4 inch hvac ducting. I decided to run the trunk lines on the floor to reduce the length of the run and to avoid fighting gravity. The downside here of course is I will have to be a little more careful not to step on the pipe. I’m also planning on putting my router table in a extension wing on my table saw side to consolodate space and dust collection so that will “Y” off the table saw line eventually.


The other leg of the system will feed the new band saw and my chop saw. This leg is made from the original PVC system I put together. Here I removed all my other outlet ports and inserted a “Y” for the band saw and continued the run for the chop saw. I was a little concerned about the length of the run to the chop saw, but I think with the addition of more smooth pipe and eliminating several “T”‘s I had in the line I’ve actually improved the efficiency.

 Finally, I went through the entire system and made sure all the joints were well sealed with duct tape. You know your really woodworking when the duct tape comes out!

